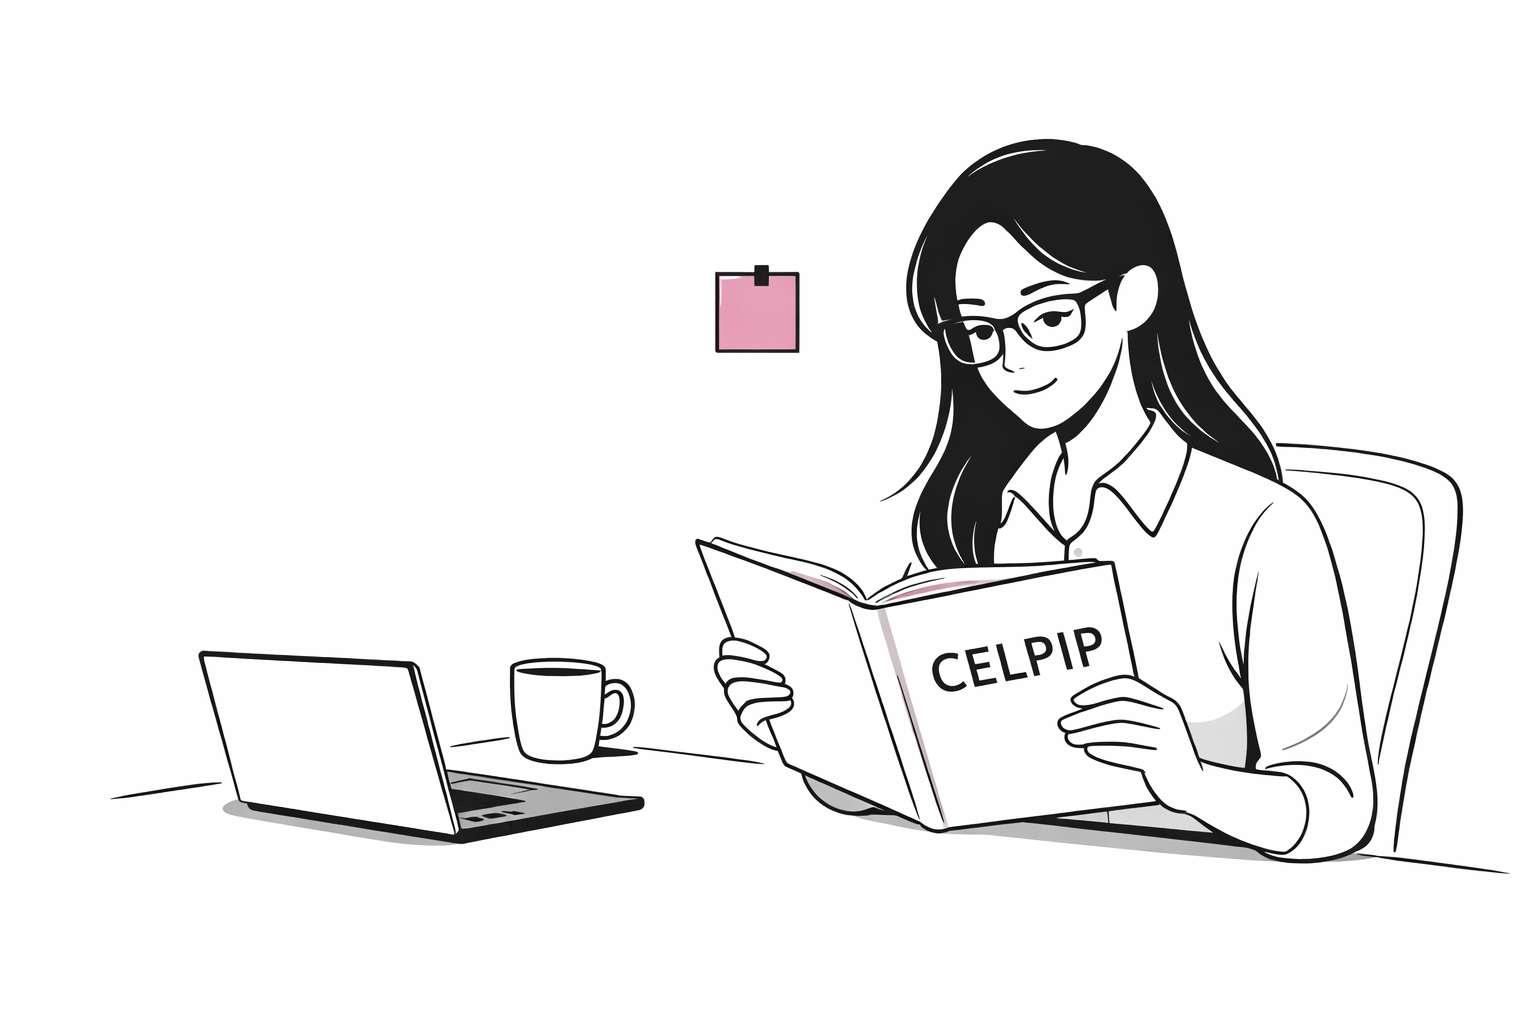
CELPIP Registration Guide 2026
Registering is fast, but tiny mistakes can cost you a test date. This guide helps you book correctly: pick the right test type, enter your ID details safely, pay online, and leave with a clean checklist.
Updated: . Always confirm rules on the official CELPIP website because fees and policies can change.
Quick win
Type your full legal name exactly as it appears on your test-day ID. One missing middle name can become a problem later.
Step 0
Choose the right CELPIP test
Your test type should match your goal. If your program needs all four skills, don’t accidentally book Listening + Speaking only.
| Feature | CELPIP‑General | CELPIP‑General LS |
|---|---|---|
| Skills | Listening, Reading, Writing, Speaking | Listening + Speaking |
| Typical use | Immigration programs, professional purposes, some schools | Canadian citizenship (when only L + S are required) |
| Time in test centre | Under ~3 hours (one sitting) | About ~1 hour (one sitting) |
The short version
- Immigration: book CELPIP‑General.
- Citizenship only: you may be able to take CELPIP‑General LS (Listening + Speaking).
- Not sure? CELPIP‑General is the safer choice.
Common mistake
Some test takers pick General LS because it’s cheaper — then discover their program needs all four skills. Confirm the required test type before you pay.
Before you start
Do this 2‑minute checklist first
- Use your full legal name (no nicknames).
- Make sure your ID is valid and not expired.
- Plan to bring the same ID on test day.
- Have a payment method ready (online booking).
- Know your preferred city (and a backup city).
- Pick a time when you’re sharp (morning vs afternoon).
Tiny detail that saves headaches
Copy your legal name from your ID and paste it into registration. Then compare it character‑by‑character.

Core guide
Step-by-step: how to register for CELPIP
- 1
Create (and verify) your CELPIP account
Register on the official site, confirm your email, and keep your login safe. You’ll need it later to view scores and manage your booking.
- 2
Select your test type
Choose General or General LS based on your goal (immigration vs citizenship). If you’re in doubt, confirm requirements before paying.
- 3
Pick your country, city, and date
Check multiple dates. Popular test centres can fill up quickly, so have a backup date (or a nearby city) ready.
- 4
Enter your ID details exactly
Type your name and document details exactly as shown on your government photo ID. If you renew your passport later, update your profile right away.
Don’t risk it: compare the name letter‑by‑letter. If your ID has a middle name, include it in your profile.
- 5
Pay online to confirm your seat
Your booking is confirmed only after successful payment. Take a screenshot of the confirmation page and save the email.
- 6
Double-check the details (date, time, address)
Add it to your calendar immediately. It’s easier to fix an address mistake now than on test morning.
Money & rules
Fees & policies to double-check before you pay
Fees and transfer/cancellation rules can change by location. Use the official booking flow to confirm the exact totals for your city.
- CELPIP‑General: usually around $290–$295 + tax.
- CELPIP‑General LS: usually around $195–$199 + tax.
- International pricing varies by country and test centre.
- Check the deadline for transferring to another date.
- Know the refund rules before you click “Pay”.
- If you’re unsure about dates, an earlier booking + transfer later can be safer than waiting.
After you register
What to do right after you book
Save the confirmation email, screenshot your booking number, and add the test address to your calendar.
Don’t switch IDs between registration and test day. If you renew a passport, update your details immediately.
Do a short diagnostic, then focus on your weakest skill first (most learners choose Speaking or Writing).
Keep it clean
Common mistakes (avoid these)
Booking the wrong test type
General LS is not a “lighter” version of General. It’s a different test for different purposes.
Name mismatch (missing middle name)
If your ID has a middle name and your account doesn’t, fix it before test day.
Waiting too long in busy cities
Popular centres can fill up. Have a backup date/city ready when you search.
Renewing a passport and not updating the profile
If your document number changes, update your registration details immediately.
Not saving the confirmation details
Keep your registration number and test centre address easy to find on your phone.
Ignoring transfer/cancellation deadlines
Know your deadlines before you pay, especially if your schedule might change.
Printable mindset
CELPIP registration checklist
I chose the right test type for my goal.
My account name matches my ID exactly.
I picked a test date (and noted a backup date).
I confirmed the address and arrival instructions.
I reviewed transfer/cancellation deadlines.
I saved my registration number and confirmation email.
Want a structured study plan next?
Once you’re registered, start with templates — they help you write/speak faster under time pressure.
Answers
Frequently asked questions
How do I register for CELPIP in 2026?
What ID do I need to register?
How far in advance should I book?
Can I reschedule or cancel after I pay?
What happens if my ID doesn’t match my registration?
When do I get my scores?
Want practice questions next?
Start with real tasks and a clean structure.